
Adding Persistent Data Structures To An Amplify App
This is a follow-on notebook post for the Starting A New App On Amplify post. This post assumes you have your IDE (WebStorm in this case, but Visual Studio an others work as well) setup and configured, have started an Amplify project, and have the AWS CLI and other JavaScript (node) projects installed on your dev box. These steps are noted in the React App On AWS : Amplify Training Notes article.
When we finished creating our new Amplify app via the AWS CLI combined with some minor code tweaks in WebStorm, we had a functional app hosted locally and on AWS Amplify. The app didn’t do a lot, but it did provide a user management service including a full authentication wrapper for our React App, thanks to AWS Cognito. The main app itself was nothing more than the placeholder React App logo and a sign out button.
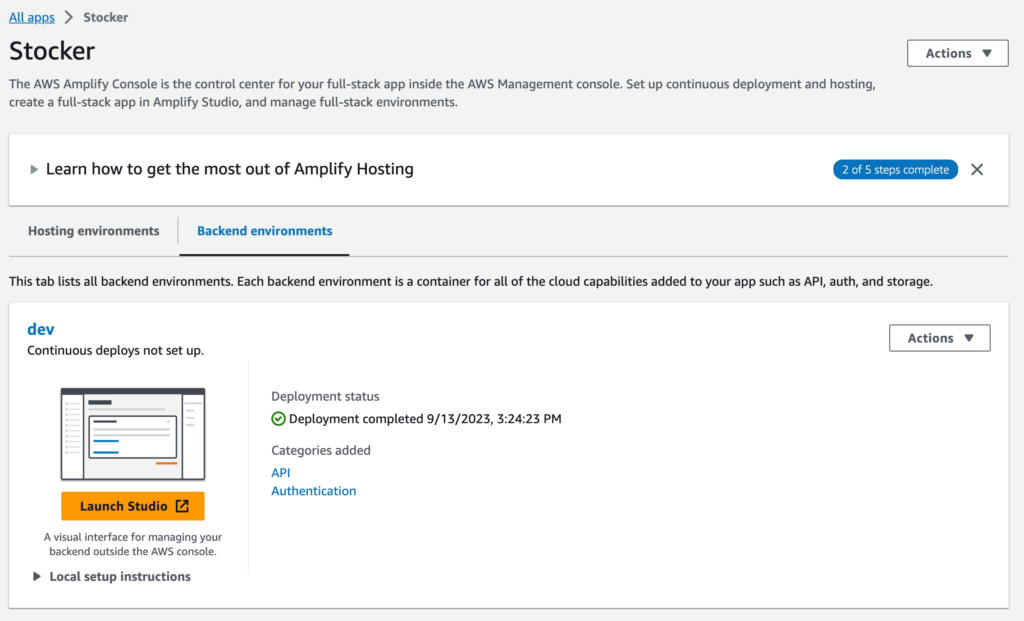
In this phase of the app we are going to add some persistent data stores to our application. We are going to use the default configuration that combines the AWS DynamoDB persistent data store with a GraphQL interface layer to manage the structure definition and data IO. The easiest way to do this is to use the AWS Amplify web interface and the Launch Studio.
Defining Data Structs With Amplify Studio
Go to your Amplify via the AWS console, click on your Amplify app, and click backend environments. Choose Launch Studio from that screen.
From here, click on Data in the left side bar under Set up.
Use Add model in the main design area to add your data tables. Add fields and relationships as needed for your app.
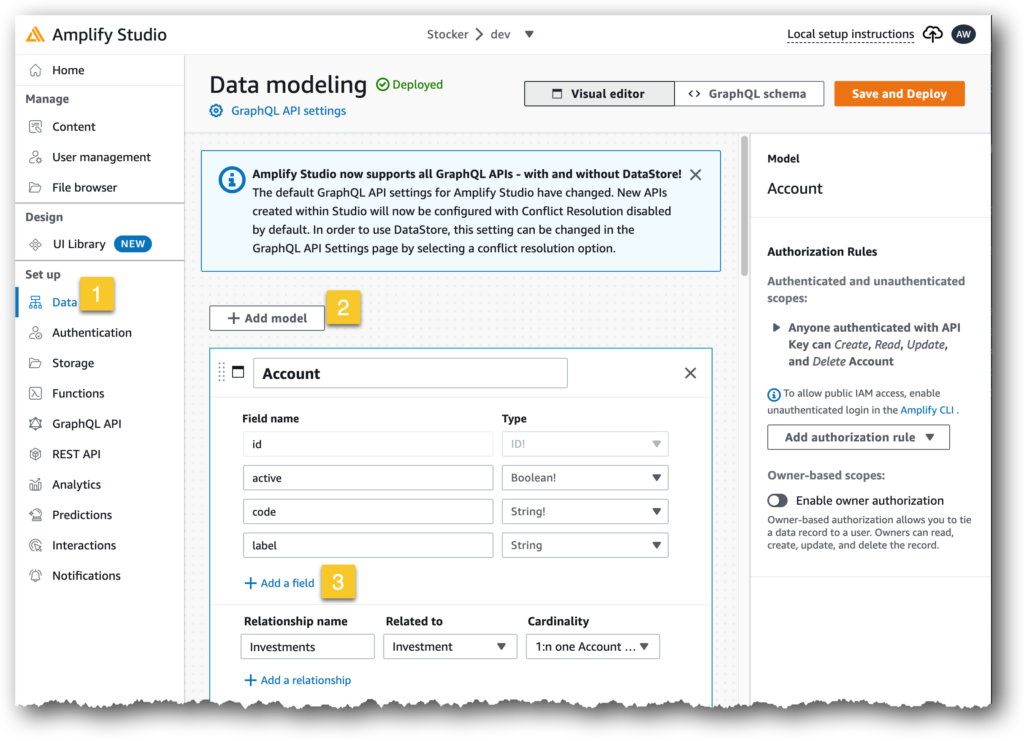
For this app I’m adding an Account table for tracking account names (the label) and external account numbers or identifiers (code). Active is a soft active/inactive boolean for soft deleting items, and id is the typical unique ID common to most persistent data stores.
Once you’ve finished creating your data structure for your app you,’ll need to Save & Deploy (click the button on the top right).
AWS will create all the needed code files including models, data definitions, and helper methods. These will then be hosted on the backend environment on AWS Amplify.
When that is finished you will be shown an AWS CLI command to sync these files and the related project meta on your local development box. Copy the command they show you, it will have a unique ID exclusive to your project that is part of the command, and execute that in your IDE terminal window. The command should be run from the root directory of your project.
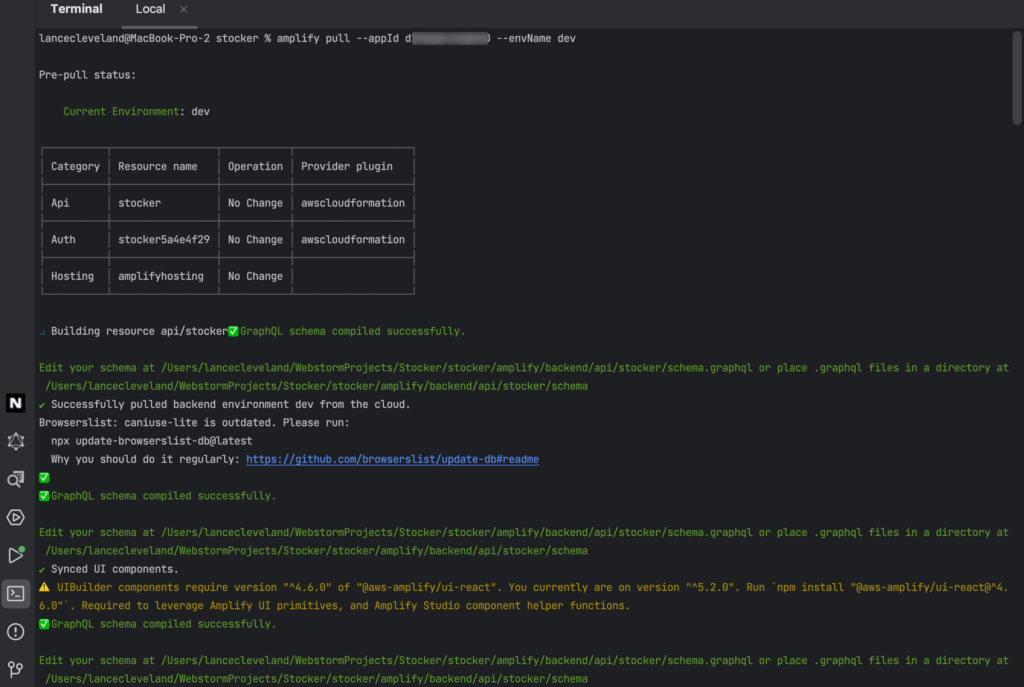
Once this has been copied to your local dev box you’ll likely want to update your git repo to save any changes. It often updates multiple files including src/models and/or amplify/backend files that define the data structs available to your app.
src/models contains things like JavaScript snippets that define constants that mirror your data store enums, has a schema file that defines the schema JS object that mirrors the table names, fields, field meta, and TypeScript definition files.
amplify/backend/api/<appname>/stocks/schema.graphsql includes the GraphQL definitions needed to facilitate the GraphQL layer within the app.
At this stage you now have an app with a POTENTIAL persistent data store ready to be accessed. We’ve not added any front end code to allow a user to interact with the data yet. That will come soon enough. For now we’ve created our data models and AWS created a DynamoDB for us along with the GraphQL helpers. We’ve hosted a copy of the code on AWS Amplify in the backend service and pulled a copy of the code-centric helpers including TypeScript, GraphSQL, and basic JavaScript files to assist with future development.
Now to use the AWS Amplify Studio along with Figma to help use create some basic interface elements for our UI that can be “wired up” to the data structures we created here.