Hacking Snagit PNG Files For Clarity
While working on some updates to the Store Locator Plus website I ran into a rather annoying issue when it came to the logo for the website. On the documentation site the logo had excellent clarity on the text beside our Store Locator Plus logo. When creating the same exact logo in the size I wanted the graphic on the new site was always far less crisp than on the documentation site. It turns out that Snagit is not very good at rendering OTF fonts to PNG for Retina displays.
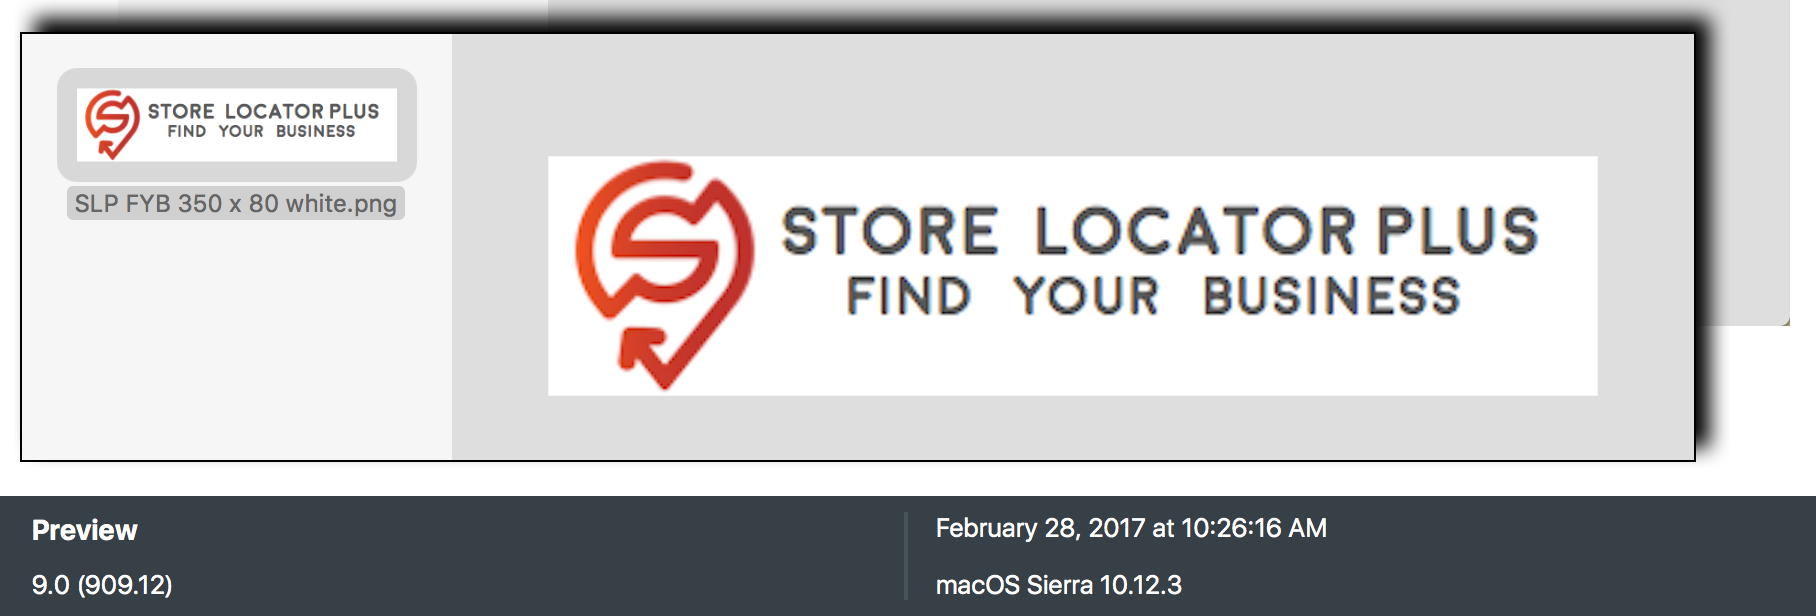
The Original
The original image used on that site is from Snagit. Unfortunately Snagit is still unable to handle Scalable Vector Graphic (SVG) formats so the graphic portion of the logo is a Snagit screen capture from Firefox rendering the SVG on a retina display. This provides a high resolution graphic that Snagit does a fine job scaling down to my 100 pixel height without a lot of artifacts. The text does not scale as well so I use the native Open Type font (OTF) file for the Moon typeface and use the text tool option to add the text to the logo.
This is the end result of the standard PNG output from Snagit 4.1.1:

Browser Scaling
As it turns out , using Snagit to scale down the original graphic from the two-times too large size to the size I want for the header doesn’t work as well as I had hoped. In the past using a graphics application to scale images ALWAYS yielded superior results to in-browser scaling. It also means faster page loads as an image twice as large scaled by the browser is downloaded something twice as big as it needs to be. This is much like driving a bus to the grocery store instead of the family sedan. Not very efficient.
However, the resolution of the scaled images from Snagit does not retain the clarity needed for today’s retina displays. For those that are not aware, Apple Retina displays and now many 4k displays have more than TWICE the resolution of monitors from a few years ago with the same real estate. They use internal trickery to make older low-resolution images look right on the screen and absolutely shine when encountering graphics and photos that are shot in much higher resolution. Images look clearer, better defined, and have deeper more natural looking color palettes.
As it turns out, the web browsers on retina devices tend to do a far better job at scaling images these days than most common graphic apps. Here is the same image at twice the resolution in both the native size and scaled.

If you are viewing the images on a high resolution screen you should notice that the Browser Scaled image in the middle is better defined than the Snagit image that was sized specifically to the 350×80 dimensions.
PDF Files and DPI
Being the scientist and tech geek that I am I was not going to just use browser scaling and move on to my next project. It is a disease that impacts my productivity every day, but I had to know a bit more about what was going on and I wanted to get the CORRECT results not a hack that worked “well enough for today”. I wanted to serve up a 20KB image NOT a 96KB image every time someone loaded my page. Less bandwidth is still important for all those people using pay-for-what-you-consume mobile plans and is a good idea in general for page loading performance.
I soon discovered that exporting the image from Snagit to a Portable Document Format (PDF) file always kept the image crisp and clear. This makes sense as a proper PDF format contains graphic images and font data internally with the document. That means the special font in my image has all of the formulas necessary to draw each letter using math to describe a curve or a line instead of binary on/off pixels arranged in a specific pattern. I makes for much clearer looking fonts at a variety of resolutions.
It also turns out that from within the Preview application on MacOS you can export that PDF to a PNG file with an added twist that is not available in Snagit. You can set the dots-per-inch (DPI) of the file being output. The more dots you have to draw something like a letter “O” the clearer it looks. Think about it. And “O” made up of 4 dots doesn’t look much like an “O” though it does make a good diamond-shape. With 40 dots that “O” resembles a circle. This meant that I could set the DPI to various levels and see how it looks in the browser. I ran a series from 72 to 600DPI. Here is what I got:


To get a better idea of what DPI and how it impacts the clarity when drawing circles, click the above images to view the full size non-scaled version. Zoom in so the images take up the same space on your screen and you see the pixel artifacts hidden in the image that your brain will perceive even if you can’t quite point to it on the original image.
And just for fun , a copy of the 720×160 image converted to pixels instead of an OTF font within Snagit then scaled down to 350×80 for comparison.

Summary
There are a few conclusions to be made from this exercise.
- SVG formats need to be more widely accepted.
They are far superior for scaling and rendering of images. This logo and font would look much nicer and only require a single mid-size file to look great on ALL screen resolutions and ANY size.- Snagit needs to support SVG reading and writing.
- WordPress needs to allow SVG formats anywhere PNG, GIF, and JPEG images are allowed.
- The native output DPI for PNG files from Snagit is 72.
This makes sense as the “web standard” for screen output has always been 72DPI. Printed media was 300DPI then 600DPI then 1200DPI.- Screen media standards need to be updated for the high pixel densities found on today’s devices.
- Browser scaling algorithms on high resolution displays is currently better than both the Preview and Snagit apps I used in these tests.
This is by no means a complaint about Snagit or any of the other applications noted here. In fact I LOVE Snagit and use it as my go-to for creating instructional videos and images for online documentation. Hopefully these findings help you determine the best solution for your image management so you can balance performance and the user experience for your web and mobile apps.